In this post I am going to show you how to make videos on your iPhone or iPad. I will discuss the equipment I use for recording and lighting as well as the editing software I use.
So you have a shiny new iPad Pro with it’s large, bright screen and one of the best cameras on the market. Or maybe you have one of the latest iPhones. They all have great cameras front and back. Any iPhone 7plus or later has market leading cameras for video.
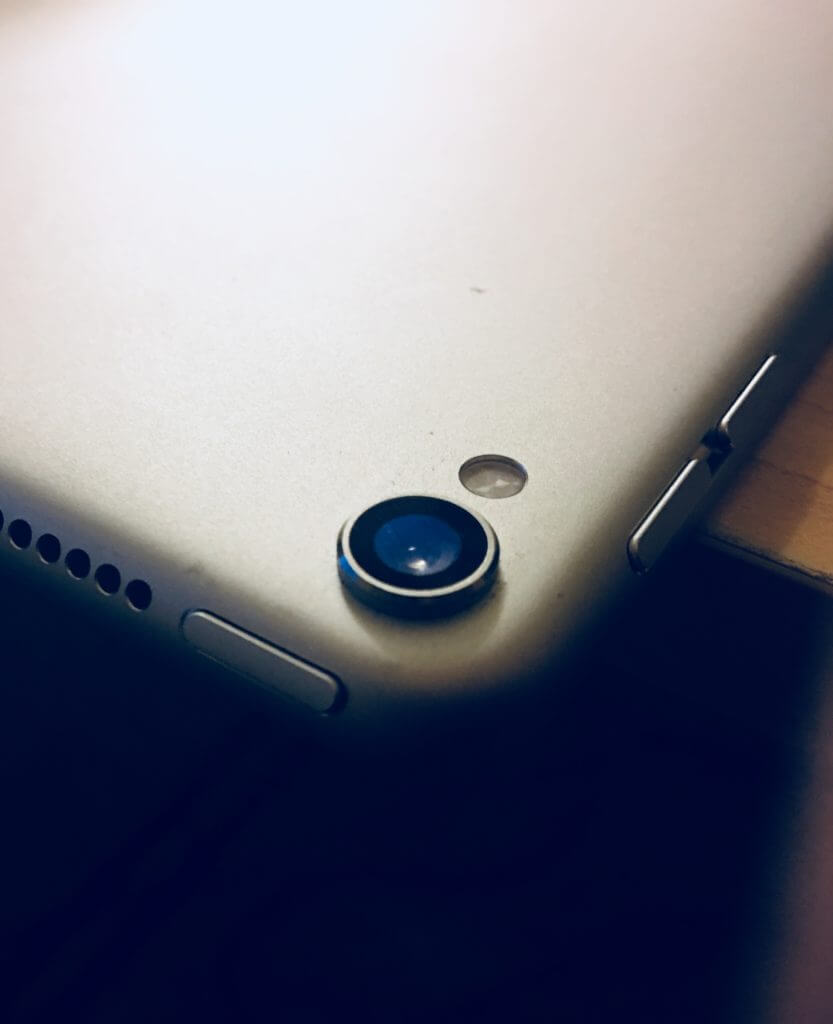
iPad Pro Camera Specifications

Here are the Apple published specs for the rear camera:
- 12-megapixel camera
- ƒ/1.8 aperture
- Digital zoom up to 5x
- Optical image stabilization
- Six‑element lens
- Quad-LED True Tone flash
- Panorama (up to 63 megapixels)
- Sapphire crystal lens cover
- Backside illumination sensor
- Hybrid IR filter
- Autofocus with Focus Pixels
- Tap to focus with Focus Pixels
- Live Photos with stabilization
- Wide color capture for photos and Live Photos
- Improved local tone mapping
- Body and face detection
- Exposure control
- Noise reduction
- Auto HDR for photos
- Auto image stabilization
- Burst mode
- Timer mode
- Photo geotagging
- Tripd
The front camera is not far behind:
- 7-megapixel photos
- 1080p HD video recording
- Retina Flash
- ƒ/2.2 aperture
- Wide color capture for photos and Live Photos
- Auto HDR
- Backside illumination sensor
- Body and face detection
- Auto image stabilization
- Burst mode
- Exposure control
- Timer mode
In fact, the strengths of this front facing, or Facetime, camera make it good enough to use for video recording. The big advantage in doing this is that you can see what you are recording on that big iPad Pro screen.
Setting Up Your iPad Pro for Video Recording
Tripod
If you are recording in your home studio, you need to mount your iPad Pro on a tripod. Any good camera tripod will do the job, but make sure you have one that will extend enough to capture you standing.
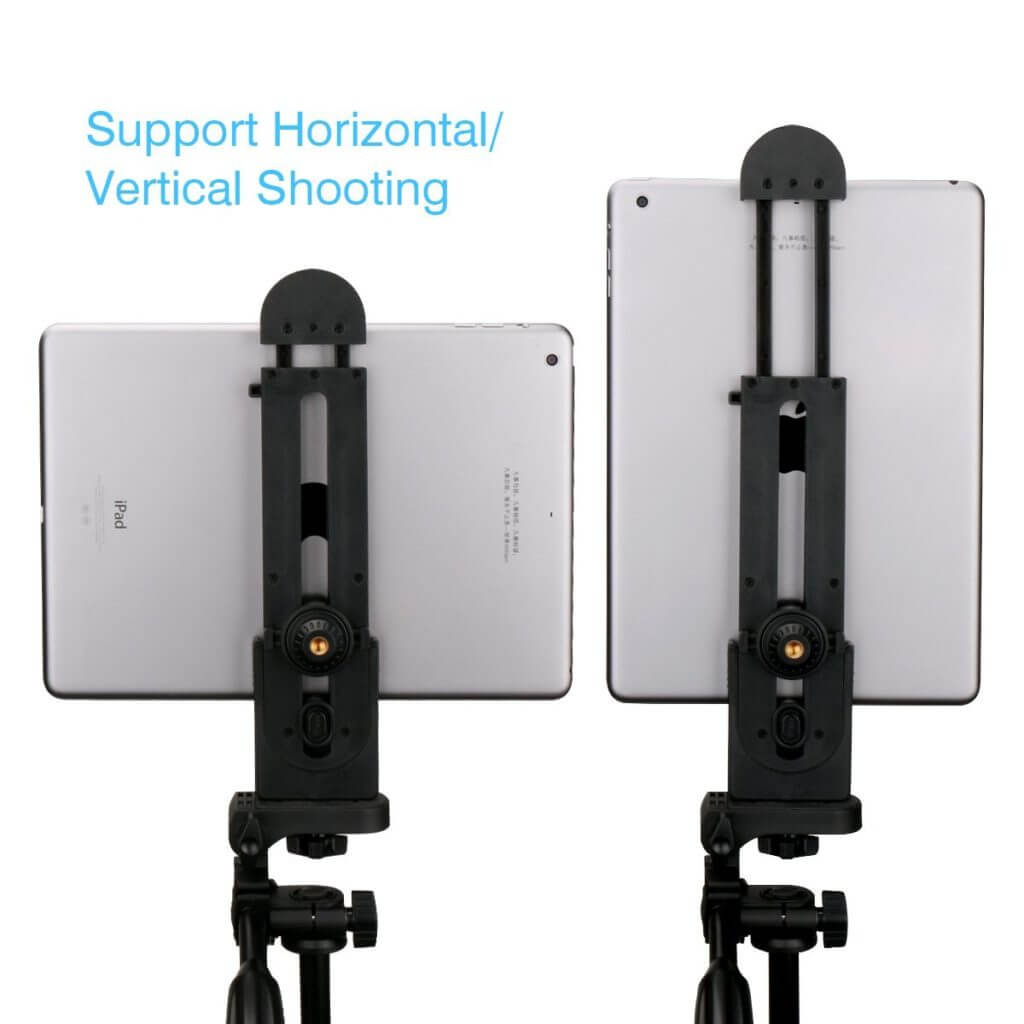
iPad Mount
I use an adjustable iPad mount that screws into the camera mount on the tripod. Make sure you use one that extends enough to hold your iPad Pro, especially if you have the larger 12.9″ version. Ideally, it should be able to mount the iPad Pro vertically for Facebook Live videos. Not essential, but desirable.
For YouTube, mount the iPad horizontally and try to look at the camera rather than the center of the screen (quite difficult unless you concentrate, as you will see with several of my videos). That way you will be looking at your audience rather than to one side.

Microphone
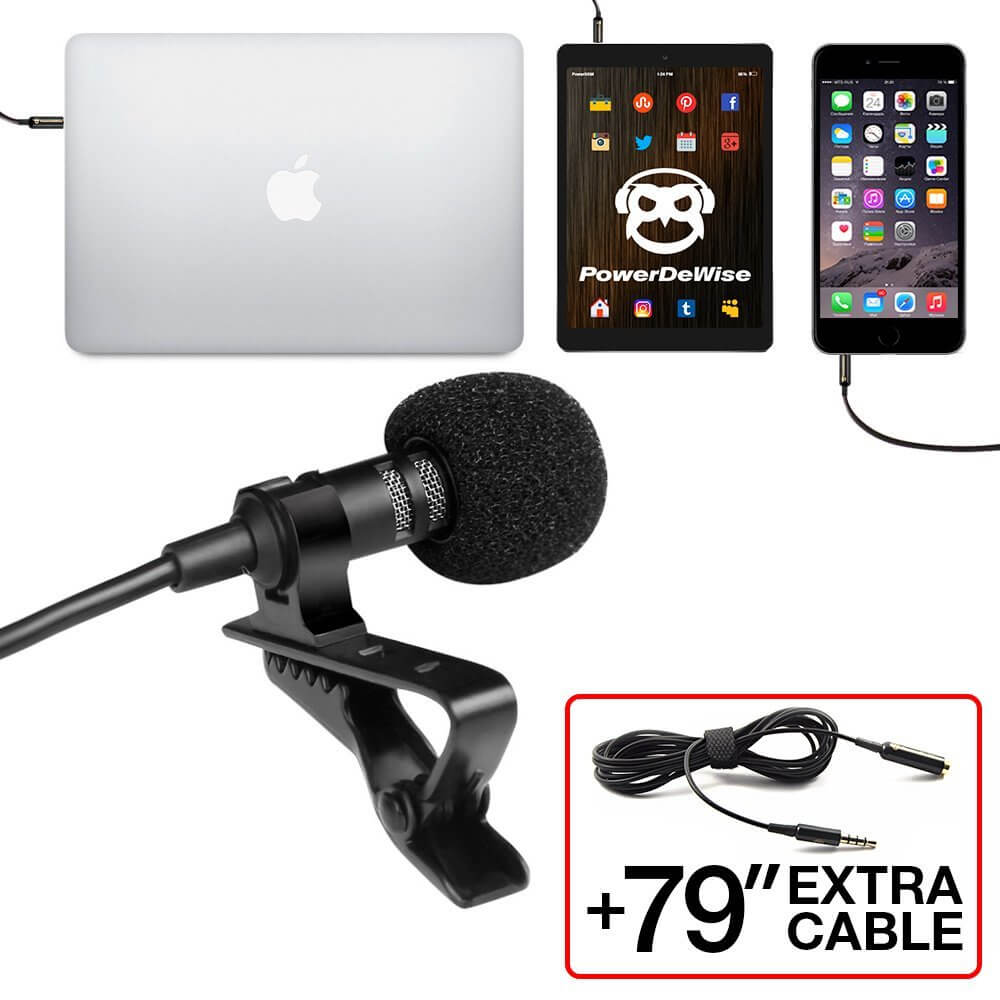
This is probably the most important part, but certainly not the most expensive. I use a lavalier lapel microphone, made by Power De Wise, which you can pick up from Amazon for $22. It also comes with an extension cable and a PC adapter. It really is great value and the sound quality is excellent.
Link to Purchase PowerDeWise Las Mic
If you just can’t bring yourself to spend so little, then many people recommend the Rode SmartLav, which is around $80. This will also plug into the standard iPad microphone port.
Lighting
You can’t go far wrong with daylight and we have plenty of that here in Southern California. However, if you live in more Arctic regions, or prefer to record after hours, then you should invest in a good lighting kit.
Again, you don’t have to break the bank. I use a 3 light studio kit with umbrellas and a green screen on a stand. This kit is available on Amazon for just over $100. I also purchased a white backdrop from the same company. This gives me options for background. I can either use plain white or add a background during editing, by using the green screen.

I hope you found this article helpful. If you’re looking to get into making YouTube videos, please check out my in-depth article on How to Create a YouTube Channel.
Free Guide to YouTube Marketing Funnels
In order to make money from your YouTube channel, you need to set up one or more YouTube Sales and Marketing Funnels. If you want to learn more about this, please download my free guide:


